Avoid the most common suspension installation mistakes. Steeda covers spring seating,
bump stop trimming, bushing clocking, torque specs, and more. Every day at Steeda, our tech lines light up with the same suspension headaches. Most are easy to dodge
with a little know-how. Whether you’re installing lowering springs on an S550, dialing in a full
handling setup on an S650, or waking up a Fox Body that’s been parked on rusty hardware for years, the
tips below will keep your tires, sanity, and ride quality intact. These are the mistakes we see most, why they trip people up, and how to sidestep them on your next
install. First, let’s start with the most common one. The number one call we get? 'The spring doesn’t fit.' Almost every time, the spring is fine, but it just
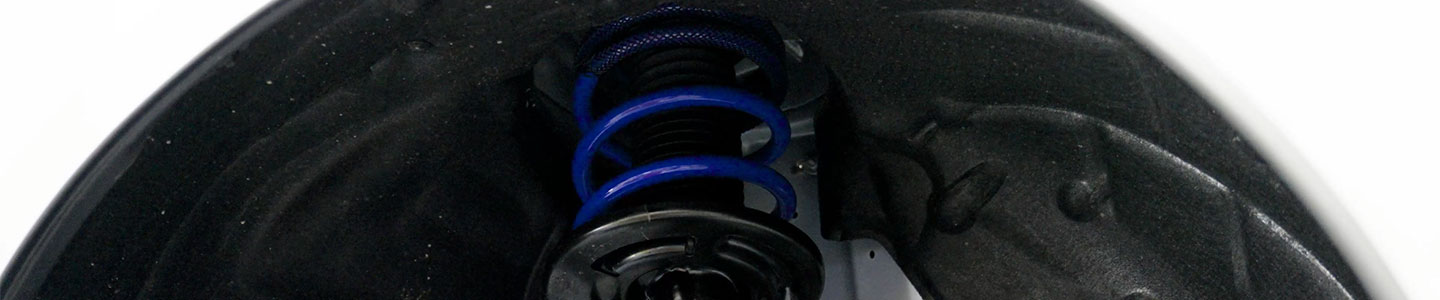
isn’t seated all the way. Every spring has a top and a bottom, and getting that right matters. In most setups, in the front, the
top of the spring needs to nest fully against the upper seat. That seat spins as you turn the wheel, so
if you’ve got the wrong end up, it won’t sit flush, won’t rotate right, and you’ll get the classic
soundtrack: clunks and pops from the front end every time you steer. The fix is easy: check your instructions, double-check which end goes up, and make sure the spring is
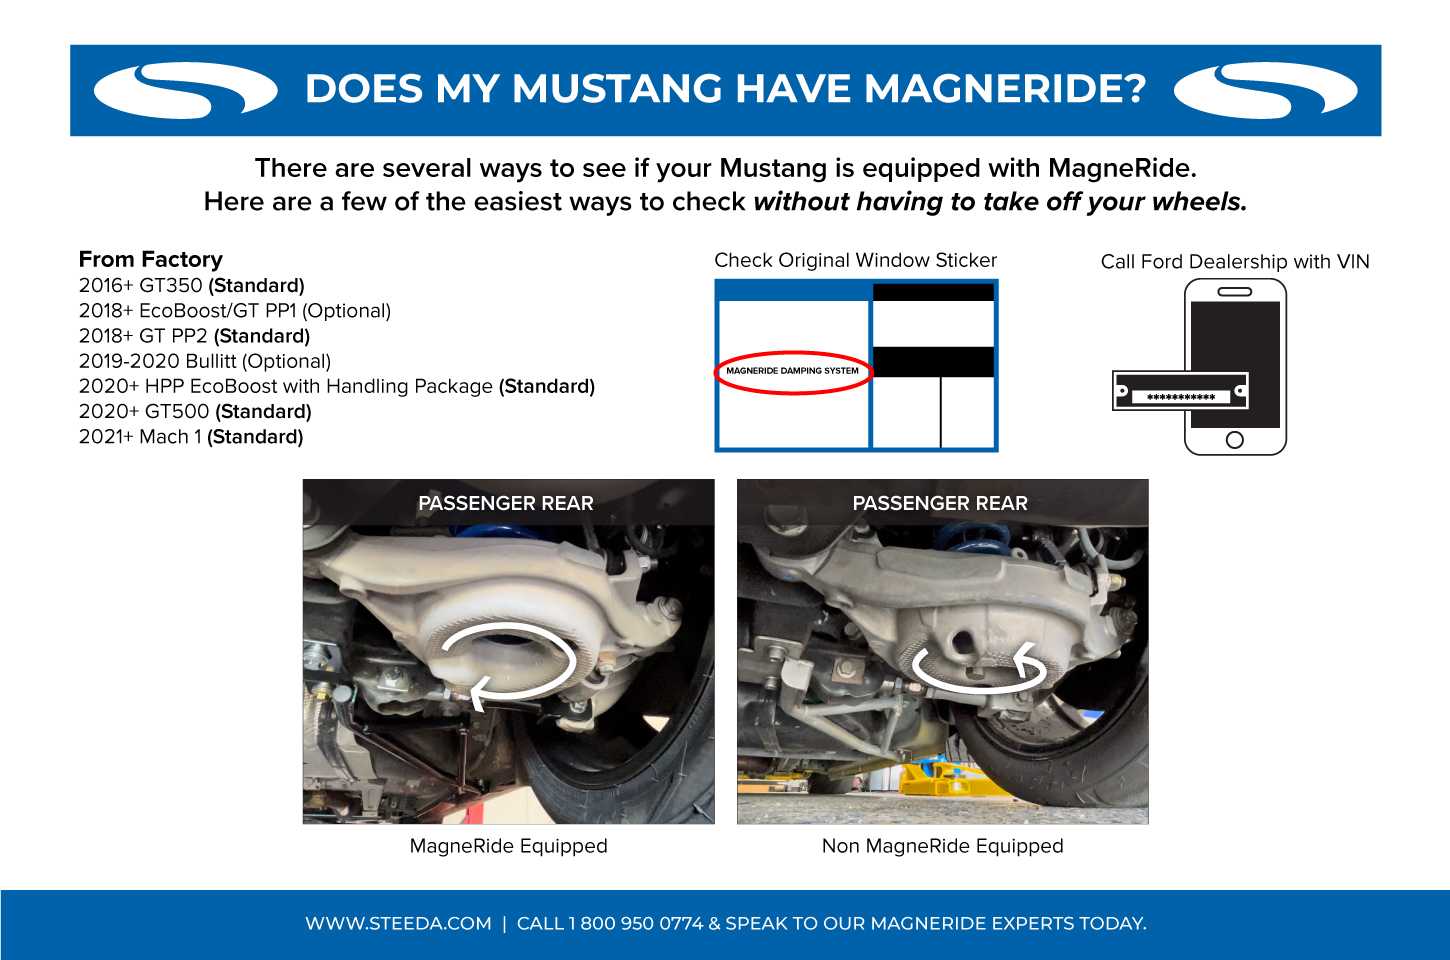
fully seated before you bolt it all back together. S550 and S650 Mustangs with MagneRide need different springs than the standard cars. Every week, we talk
to folks who guessed wrong, either thinking they had MagneRide when they didn’t, or ordering standard
springs for a car that actually has it. Don’t trust the dealer or your memory of the window sticker. It takes thirty seconds to check. Slide
under the rear of the car and look at the two rear springs. On a MagneRide car, one spring winds
clockwise, the other the opposite way. If both rear springs are wound the same, you’re not looking at
MagneRide. That quick look guarantees you get the right parts the first time and saves you the headache of returns
and delays. Breaking down a strut assembly with an impact is fine, especially if you’re swapping out factory shocks
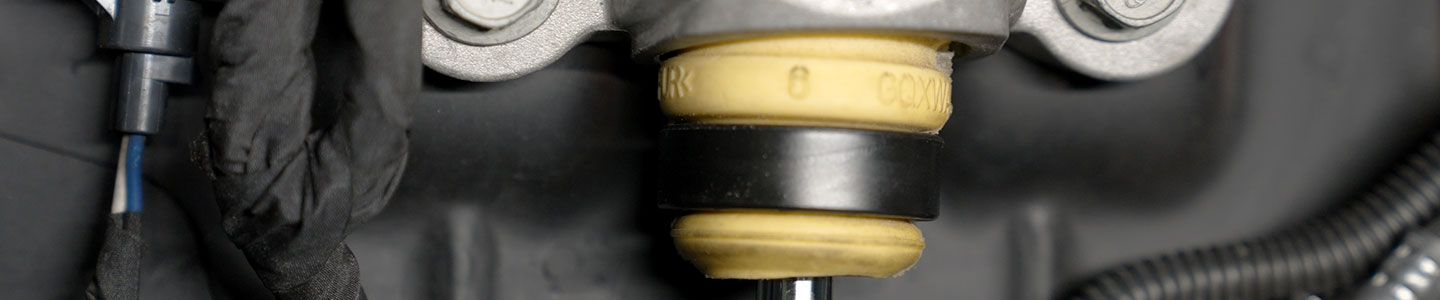
and struts for Steeda Pro-Action dampers and tossing the old hardware. Putting things back together is where you need to slow down. If you run the strut nut down with an
impact, the shaft will eventually spin with the nut. That can damage the internal seals and lead to
leaks later. A loose strut nut also means a front-end knock, so this one mistake can cost you both the
damper and your patience. The right move: tighten by hand until the shaft wants to spin, then grab a strut nut socket. Steeda’s
tool is built for this job; the socket turns the nut, and the open slot lets you hold the shaft steady
with a wrench. If you don’t have Steeda’s strut nut socket, a universal strut nut socket, or a
pass-through socket set with an Allen key to hold the shaft can work, too. That way, you get the right
clamp load, no shaft spin, no seal damage, and no front-end noise. Bump stops are there to keep your suspension from smashing itself to pieces. Hit a pothole or rough
patch, and the bump stop takes the hit before your strut or shock bottoms out. That saves you from
damage and broken parts. Here’s the catch: lower the car, and you lose suspension travel. Leave the full-length bump stops in, and
you’ll ride on them all the time. On the road, it feels like you’re bouncing on bricks, and it only gets
worse with passengers or a loaded trunk. The rule is simple: trim the bump stops by the same amount you lowered the car. Drop it half an inch,
trim half an inch. Drop it an inch, trim an inch, front and rear. On our Silver Bullet drag car, running
Steeda drag springs and sitting low in the rear for aero down the track, we trimmed about three-quarters
of an inch off the bump stops. One important exception: S550 and S650 Mustangs equipped with MagneRide have no front bump stop. The
front is controlled entirely through the MagneRide dampers, so on those cars, only the rear bump stops
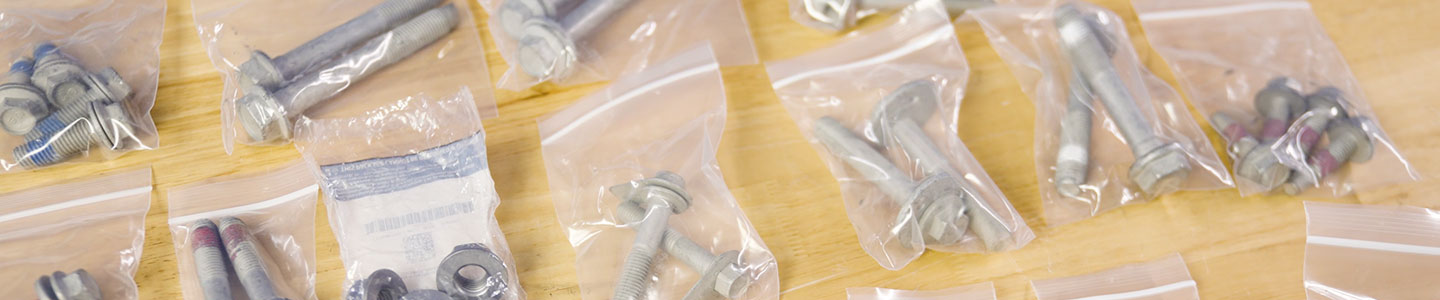
need attention. The Ford shop manual calls for replacing torque-to-yield fasteners on newer platforms, and we are
constantly asked whether that is necessary during a suspension install. The honest answer is that it
depends on the condition of your hardware. Steeda does not include replacement hardware in the majority
of our kits, and Ford does not include it with factory components either. Trust your eyes, but know what to look for. When inspecting your bolts, watch for stretching, thread
damage, or discoloration along with the usual signs of rust or corrosion. Threads that look flattened,
shiny, or sloppy are another giveaway that replacement is needed. If your bolts show any of these signs,
or you live in a place where salt eats cars for breakfast, swap the hardware. S550 and S650 owners can
grab the Ford Performance Handling Pack Hardware Kit; it’s got all the fasteners you’ll need for a full
suspension install. Fox Body owners, pay extra attention here. That hardware has been holding on for decades, so we offer
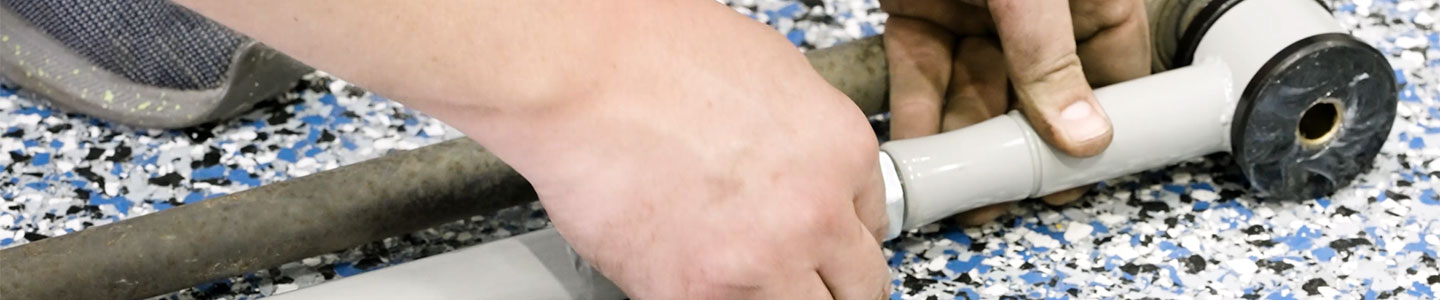
dedicated lower- and upper-control-arm hardware kits for the 1979–2004 Mustang. Adjustable parts always raise the same question: where do you set them? Panhard bars, sway bar end links,
toe links, camber arms, and lower control arms. The answer is always to start at factory length. Match
the new part to the old one, bolt it in, and fine-tune from there. For sway bar end links, factory length gets you rolling; adjust only if you need to later. For a Panhard
bar, set it to stock length, bolt it in, then eyeball the rear and shift the axle as needed. Simple. Toe links need a little more care. If you set them to factory length and lock them down with Steeda
lockout tabs, you’ll probably end up toed in. Drive ten or twenty miles to the alignment shop like that,
and your tires will show it. Either have the shop install them, or set them to factory length, then
eyeball the toe from behind by standing behind the car and checking if the rear wheels look parallel
with the body. You can use a straightedge or a long level against the tires as a quick visual reference:
if the front edges of the rear tires point inward toward the car, you're toed in; if they point outward,
that's toe-out. Adjust as needed and nudge it a hair toward toe-out so the tires track straight on the
way over. Camber arms are more forgiving. A short drive to the alignment shop with camber a little off won’t hurt
anything, though nobody wants to run big negative camber for long. Bonus: adjustable parts often make the installation easier. On something like the
Explorer adjustable toe link, being able to pull it in or push it out just a bit is what lets that last
bolt slide home. If you bolt in a new suspension and pick up a squeak, it's usually due to a lack of grease. Knowing how
these parts go together tells you where the grease actually matters. At Steeda, we press bushings into control arms dry on purpose; the bushings shouldn’t move inside the
arm. The spot that needs grease is where the action happens: the internal bore the sleeve rides in. That
lets the sleeve pivot as the suspension cycles. For parts like vertical links, grease the entire face of
the bushing to ensure quiet operation. Every kit comes with grease packs for exactly this reason. Sway bars work the same way. Grease the inside of the bushing so the bar pivots smoothly, and hit the
face of the bushing where it meets the sway bar stop. Both spots matter for a squeak-free ride. Parts with grease fittings, like Steeda ball joints and adjustable end links, only need a pump or two
from the grease gun. This is where too much enthusiasm can wreck things. Over-greasing can blow out the
boot or destroy the bushing, and end links are especially at risk. Almost every blown end-link seal we
see comes from overdoing it. One pump, maybe two, and you’re done. This step has become critical in the last decade. On a Fox Body, you could swap upper and lower control
arms without thinking about bushing clocking. On the S197, S550, and S650, it’s a different story:
bushings come bonded to the arms, from the S197 upper control arm to the camber arms, vertical links,
and toe links on the S550 and S650. Even sway bar kits now use bonded bushings. A bonded bushing won’t spin on its sleeve. If you torque the bolts with the car hanging in the air, the
bushing gets locked in that drooped position. Drop the car onto its wheels, and now the bushing is
twisted, always fighting to pull the suspension back up. That adds a fake spring rate, ruins ride
quality, and puts constant stress on the bushing. The rule: any time you install lowering springs or suspension parts on these newer platforms, snug the
bolts but don’t torque them until the car is sitting at ride height on its wheels. Then torque
everything to spec. Steeda replacement parts make this easier. Our camber arms, vertical links, and toe links use
free-floating bushings and sleeves, so you can torque them in droop and drop the car without messing up
ride height or ride quality. Not every suspension tweak means you need an alignment. The test is simple: did you change caster,
camber, toe, or ride height? If yes, hit the alignment shop. If not, you’re good. That last one catches people off guard. Even a small lift pushes camber positive, so spring spacers
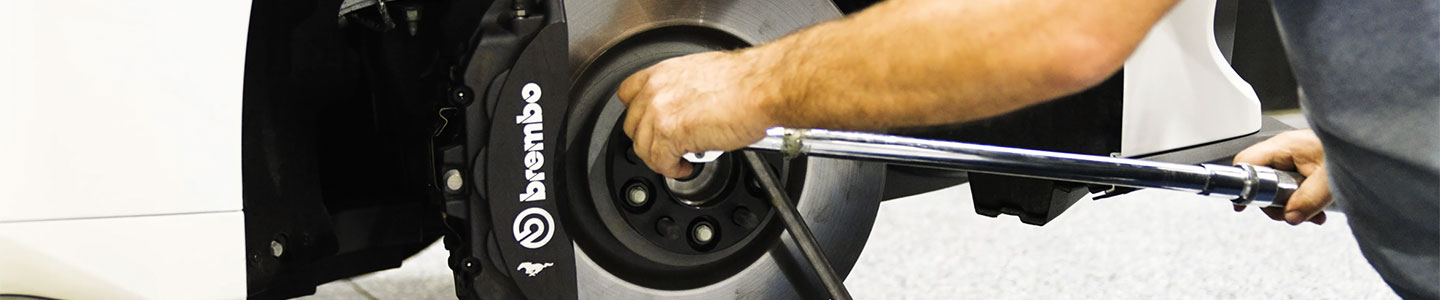
require alignment, just like lowering springs. Last but not least: torque specs aren’t a one-and-done deal. New suspension parts change how the car
loads and moves, and fasteners settle in those first miles. After 100 miles, go back and retorque
everything: diff bolts, suspension parts, IRS braces, even H-pipes. Sway bar end links need a special shout. For every general tech call we get, we take three or four about
clunks after a sway bar install, and every single time, it’s a loose end link. Red Loctite on the
hardware keeps it from backing off. Wheel spacers follow the same rule. Torque them to spec, drive 100 miles, and retorque. A loose wheel at
speed is not something you want to experience. Retorquing is the step most people forget, and it’s the easiest. You already know the tools and the
bolts. Thirty minutes with a torque wrench after 100 miles, and you’ll never have to think about it
again. To make sure you don’t skip this crucial step, set a reminder on your phone or mark your calendar
as soon as your install is done. Make it part of your routine, and you’ll stay ahead of the usual
suspension headaches. Every mistake here comes straight from real tech calls we field every day at Steeda, and every one is
avoidable with a little know-how up front. Seat your springs, check MagneRide before you order, skip the
impact on reassembly, trim your bump stops, start adjustables at factory length, grease the right spots
in the right amounts, torque bonded bushings at ride height, know when you need an alignment, and
retorque after 100 miles. Follow these rules and your install goes smoother, your parts last longer, and your Mustang, Explorer, or
Fox Body will reward you with the quiet, planted ride you’re after. If you run into something this list
doesn’t cover, our tech team talks suspension all day. Reach out before you guess.
The Most Common Mustang Suspension Installation Mistakes
1. “The Spring Doesn’t Fit.” It Does. It Isn’t Seated.
2. MagneRide or Not? Get Under the Car and Check
3. Put Down the Impact Gun When Reassembling Struts
4. Lowered the Car? Trim the Bump Stops
5. Torque-to-Yield Bolts: When to Replace Hardware
6. Set Adjustable Parts to Factory Length First
7. Grease Properly, and Do Not Overdo It

8. Clock Your Bushings: Torque at Ride Height
9. Know When You Actually Need an Alignment
Component installed
Alignment needed?
Why
Sway bars
No
No effect on caster, camber, toe, or ride height
Differential bushing inserts
No
No change to alignment geometry
Vertical links
No
They only hold the rear tire in a vertical plane
Alignment dowels
Yes
You are physically repositioning the rear subframe
Camber arms
Yes
Camber is an adjustment range
Toe links
Yes
Toe is an adjustment range
Lowering springs
Yes
Ride height change alters geometry
Spring spacers
Yes
Even a quarter inch of raise moves camber out
10. Retorque Everything After 100 Miles
The Bottom Line